Product photography can be more technical than other types, and good lighting is key to make items look their best. A website with crisp, clean products is far more appealing that one with badly lit, grainy photos. Many photographers got their start in product photography. How can you ensure that your product photos are the highest quality? It all comes down to proper lighting.
Using the proper equipment and set-up for a product shoot is a key element to creating clean photos. The goal should be to create a continuous background and an even, soft, diffused light. Before you go out and purchase an artificial lighting kit, map out your needs and purpose for using artificial light. Some shoots may require something as simple as positioning an item in front of a window or using a lamp. Others will require more control over the lighting.
Studio Lighting 101
The different kinds of lights can seem overwhelming at first, but studio lighting comes down to three fundamentals: key lights, fill lights and back lights.
1.Key light: the main light source. This is typically pointed directly at the product and is set off-axis from the camera.
2. Fill light: secondary, lower-intensity light source. Lower intensity can mean either a lower volume of light or that the light is placed farther away. The fill light is placed on the opposite side of the camera from the key light.
3. Back light: the light placed behind or behind and above the subject. This light better defines the subject from the background.
Ultimately, lighting placement comes from experience. Don’t be afraid to play around with light positions to get the desired highlights and shadows for your shoots. Moving lights closer to or farther away from the product will affect the hardness of the shadows.
In addition to the position of your lights, you need to consider the lights themselves. What kind of bulbs should you use? Again, there are three main kinds to consider: Fluorescent, LED, and Tungsten.
1. Fluorescent lights are energy efficient and have a relatively low light output. They are also cheap, readily available, and easy to replace.
2. LEDs (light emitting diodes) are also energy efficient and produce little heat. They last a long time, which means less money spent replacing them over and over.
3. Tungsten lights – also known as “tungsten halogen” have the highest output levels but they generate a lot of heat. The bulbs are inexpensive but they can alter the color temperature if the brightness levels are changed.
Equipment for Product Photography
Depending on your budget, there is some equipment you should consider. Obviously, you need a camera. A DSLR camera is your best bet since they create high-quality images captured in RAW format to enable later retouching. Beyond your camera here are some tools to consider:
Light Kits
If you’re interested in a light kit, continuous light, speedlight, and monolight lights are all used for product photography.
- Continuous lighting is a great option for beginners since it has manual light manipulative and allows you to visualize how the light will appear on your image. It also tends to be more cost-effective compared to other kits.
- Speedlight kits are external flash units that have faster than normal flashes and are very versatile. They can be used for both still, product shots or action shots.
- Monolights are self-contained strobes that include stands, reflectors, and power sources. They are powerful and convenient since you don’t need extra power.
Tripod
A tripod will help keep your camera steady and allow you to adjust your camera height and angle along with adjusting the light. This is particularly helpful if you are using a slow shutter speed. There are plenty of options for every budget.
Light Tent
If you’re going to be photographing items with highly reflective, rounded surfaces, a light tent is a good investment. They can be a good alternative to diffusion sheets, but light tents tend to bounce light around making the result appear flat.
Neutral Background
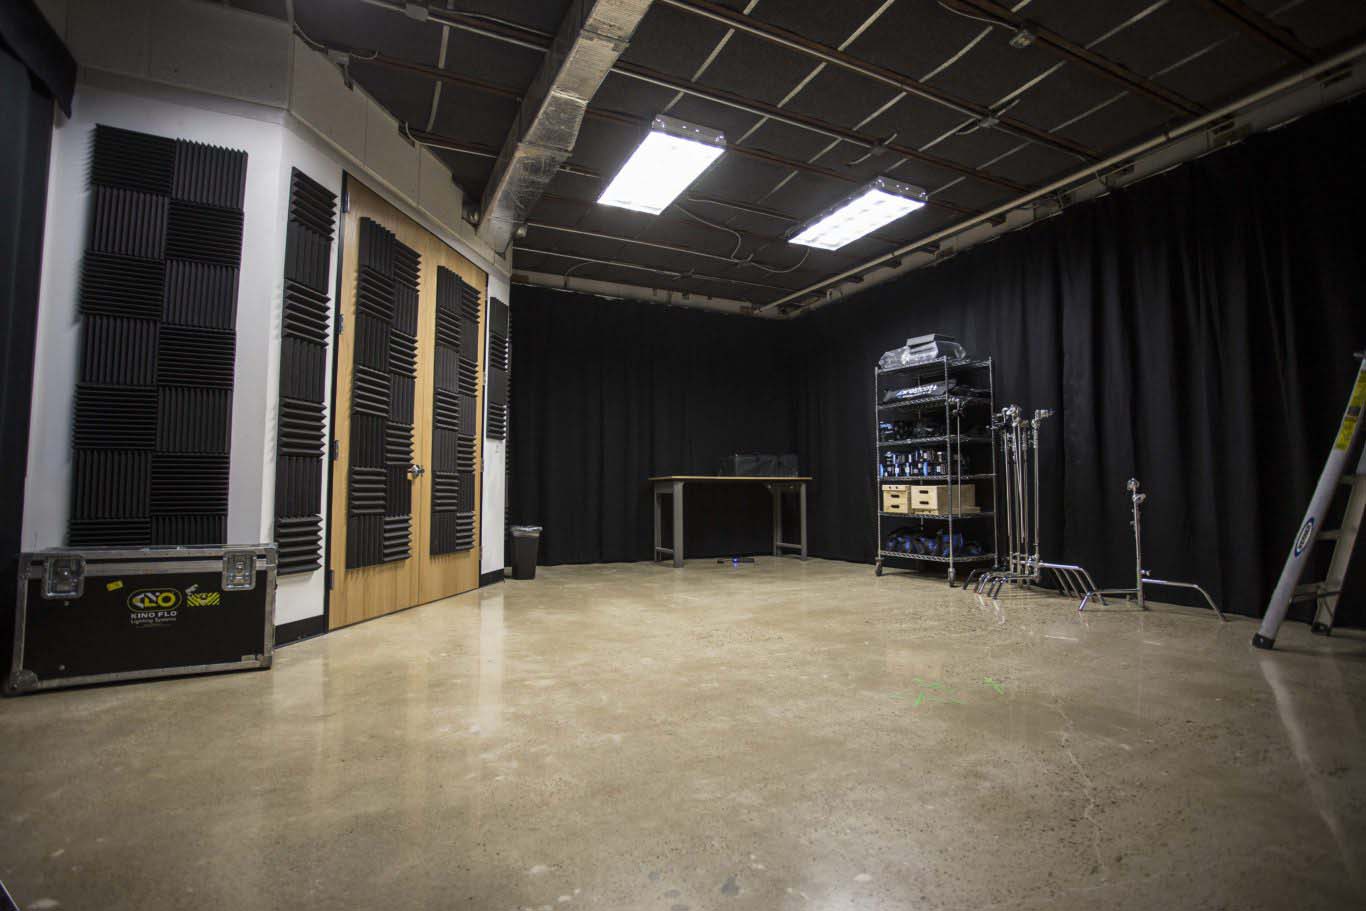
In-studio product photography for images that will appear on a website product page are usually taken against a white or neutral background. Some shoots require a professional studio ( 😉 see ours here ) but others are perfectly suited to a more DIY style.
You can use a sheet or white cardboard tri fold or special background paper or a white wall if you’re on a budget. You can also quickly build your own mini-light studio for very little money and time.
Set Up for Success
If you are starting out in product photography, learning the basics of lighting is an essential step to taking high-quality photos. Investing in some equipment that fits your needs and budget will set you on your way to becoming a skilled product photographer.
Depending on your goals and style, there are a variety of light kits, equipment, and techniques you can use. Learning product photography lighting can take a lot of trial and error, so don’t be afraid to change things up until you get the perfect photo. To learn how to make an ultra cheap DIY Lightbox yourself at home check out this article!
Have you discovered any lighting techniques that might be helpful for your fellow photographers? Share your advice in the comments section below!


